Please enjoy this guest post by my friend Shona from Mental for Polish!
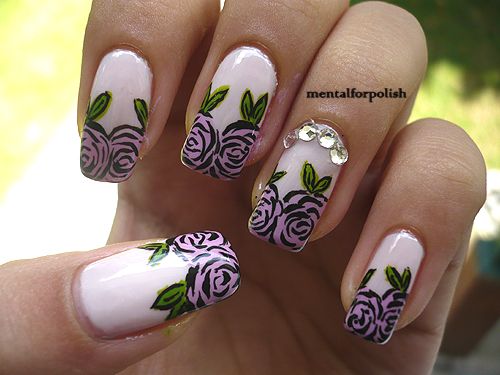
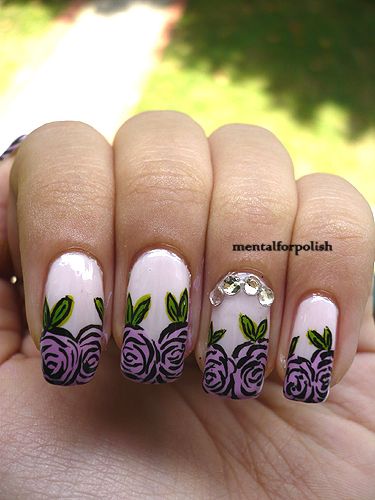
Today, I'll be doing a step-by-step tutorial for a french tip roses nail design so shall we get started? :P
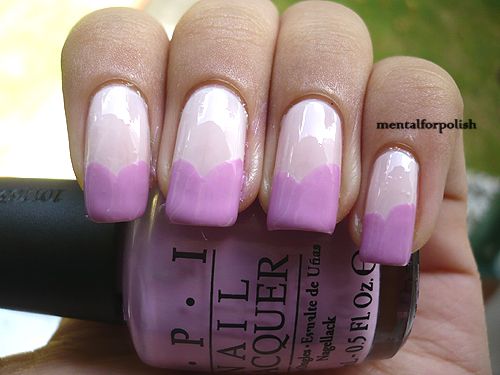
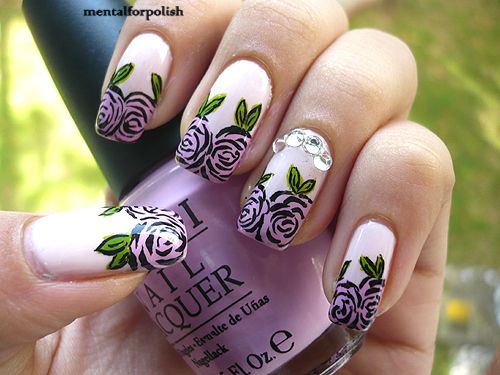
1. So the first step for every manicure is to apply your favourite base coat and 2 coats of your preferred white/nude/pink colour. I chose a pink-ish nude, OPI Step Right Up! for the base colour. I'd suggest choosing white, nude or slight pinkish colours so that the roses will be able to stand out against the base colour.
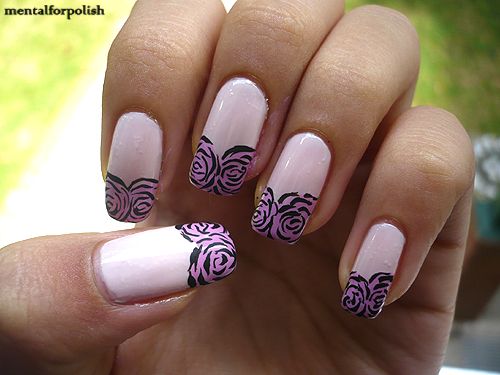
2. Use your preferred colour for your roses and paint it heart-shaped at the tips. I am using OPI Lucky Lucky Lavender. Stay away from darker colours for your roses because we are going to draw them with black acrylic paint. You don't have to worry about being perfect about this one because its all going to be covered up in the next step! :D
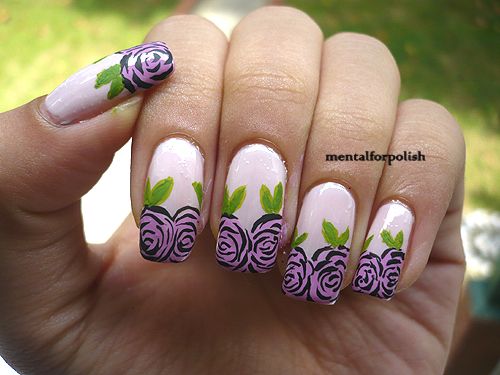
3. Take a thin detailed nail/art brush and start lining your roses! It is pretty easy actually, start with 2 curved lines not touching each other and work your way sideways! The last few strokes for the roses will be at the outline of the heart-shaped that you did in the previous step. I hope this isn't too confusing, lol.
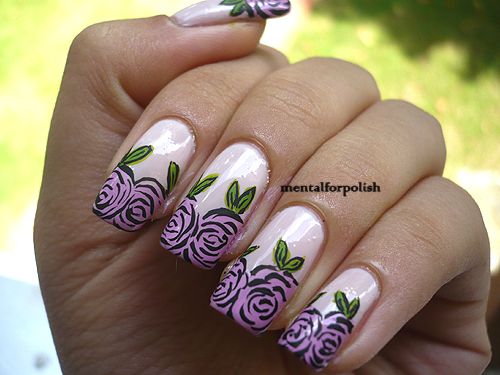
4. Next, I mixed green and yellow acrylic paint and drew 'bunny ears' for the leaves.
5. Outline the leaves with black acrylic paint and you're done!!
6. But since I couldn't resist on adding a few rhinestones, I did an accent nail with rhinestones on my ring finger for extra sparkly glam and shine :)
7. Add on a layer of fast drying topcoat and you're done! Make sure to do 2 layers of topcoats for your accent nail for some extra adhesive and hold for your rhinestones.
I hope this tutorial was helpful to you guys and I'd love to see your designs if you're trying this out! Once again, thank you Kellie ♥

Shona is always wowing me with her awesome nail art, it's very tasteful and elegant so I am definitely a fan. We all know how nail art can get a little, ahem, tacky sometimes ;) Thanks so much for sharing this fun and easy tutorial with my readers girl!

